 Are your outdoor plants gasping in this heatwave? Mine are. I check on them morning and night, gently pulling off yellowed and dead leaves, shaking my sweaty fist at the brutal sun, and watering, watering, watering. I mean, what else can we do?
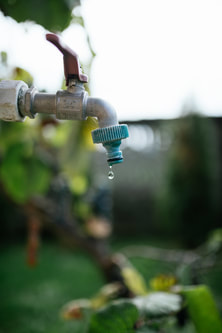
Well, here are a few ideas. Lay down a thick layer of mulch. Mulch keeps plant roots and soil temperature cooler, and helps retain moisture. About 2-3 inches should do it. Any less and the pesky, drought-happy weeds will just laugh and pop through with abandon. Any more and you may actually block rain or irrigation from getting in AND oxygen-starve your roots. NOTE: Although it’s fun to just throw on mulch with abandon, keep it off and away from the plant base—it could cause plant rot. If the summer sun seems to be burning your plant’s leaves, consider putting up shade cloth. Think of this as a lightweight umbrella, filtering harsh rays and giving your plants a break. Go with white or light-colored cloth and install it on posts or poles or even bamboo. Here’s a great how-to link: https://youtu.be/lFbloOu_raQ. If your flower containers are drying out too quickly, try double-potting them. Just put the original pot inside a bigger pot, then fill the gap with newspaper or those packing peanuts you’ve been storing for an occasion such as this. The bigger pot will absorb the sun’s harsh heat, the layer will act as a filter, and the actual pot will stay cooler. No—this is not the look you were going for when you snatched up that one-of-a-kind planter at the garden center. But your plants will reward you in the blistering summer, and you can release the beautiful pot in the cooling fall. Remember the mulching tip for your garden beds? That also works for pots! Use up to 3 inches of stones, gravel, sand or bark to protect and reflect sun from the top layer of potting soil. Bonus—this layer pushes water down into the soil and stores it for later. NOTE: You want light-colored stones (yes, yes…black stones are really trendy and pretty, but…) because they reflect sun, not absorb. And then there are a few “don’ts” for this harsh season: Don’t fertilize—they don’t need it, can’t use it, and it may actually stress out plants even more. Don’t re-pot—this will add even more stress to the shock plants naturally experience during repotting. Don’t prune—not only does this add (wait for it) stress, you expose tender cuts to harsh sun and temps. All of these can wait until fall, when everybody’s ready for a change. Every single southern summer, I think I might not survive the high temps, relentless sun, and hair-crushing humidity. But I do, and so can your plants with just a little bit of added attention. Now, where did I put those packing peanuts…
0 Comments
 I remember precisely when I became a yard scavenger. I’d made a risky move from a large Midwest town to an artsy mid-South neighborhood just in time to roll my eyes at residents planting Fall pansies. (Newsflash: They bloom through the winter here!) And then, suddenly—like overnight—nearly all the mailboxes on my street were covered in fresh evergreen garland and bows. But not mine. My mailbox was naked and cold and definitely the odd man out. I put my journalism degree to work and discovered a local private school held an annual Christmas fundraiser by selling mailbox garlands. These garlands were stunning. They were lush. And they were waaaaaaay out of my price range. So I gathered some pine boughs and holly from my yard, pulled some festive ribbon from my stash, and created my own, free mailbox garland. It was not an unmitigated success. I wish I’d taken pictures of it, because you’d probably shake your head in pity. Pieces started falling out the first week. I think the ribbon came untied in a high wind. But I was not deterred! And I got better at it each Christmas. After that scavenging revelation, I started noticing the pinecones scattered over the lawn and collected baskets of them before the mowers blew through. I found forsythia along a fence line and clipped some branches for a spring vase. I came upon a rogue tulip along the canal. Volunteer daffodils beside a storage shed. Tiny crocus near my back steps. And I officially became a scavenger-forager. Before long, I was asking friends if I could cut a few wayward branches from their magnolias and euonymus. In exchange, I could provide pine and holly. I grew some roses and traded those for hydrangea blooms. I became unafraid to ask for blooms because most gardeners simply loved to share. So I encourage you to start really investigating your yard. Explore your friends’ yards. Walk slowly along the edges in all seasons. Look up into the trees. Chances are you’ll find some wild beauty out there just waiting to come inside and adorn your home. 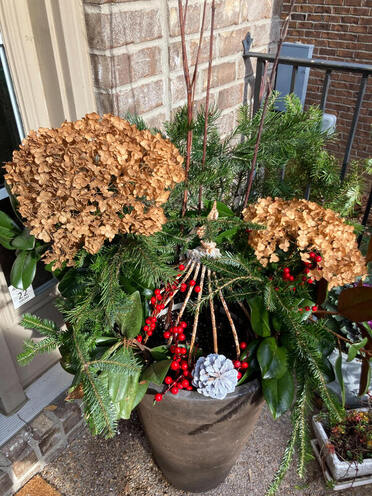 Confession: I am terrible about planting flower bulbs. I mean, I buy them—tulips, daffodils, crocus—but I rarely plant them. Then I get to find them all shriveled and wasted on the garage shelves during the winter clean out and mentally kick myself. Hang my head in shame. Total up the wasted money. This happens year after year after year… So this fall, I came up with a way to buck that trend. I watched a local garden center video on “underplanting”—burying bulbs in flower pots under 4-6” of potting soil and top-dressing with winter flowers or even decorations. And it hit me: It’s the process of digging six inches into the Tennessee clay that trips me up! I mean, can you name one gardener who enjoys digging through six inches of cement-hard or wet clay to plant something that lays dormant for months?? I’ll wait while you desperately think of one…just one… [elevator music…crickets…] Okay, maybe you came up with one. But I can’t. And I know a LOT of savvy gardeners. Bulbs in pots serve two purposes: (1) easy planting, (2) spring surprise. Planting is so EASY because you just bury them in fluffy potting soil. It’s almost fun! And the surprise in early spring—that time in four-season areas when the days are cold and gray and depressing—as the new growth bursts through the soil is unmatched for even the most experienced gardeners! So I encourage you to raid the bulb bins at your local garden centers this week. Yes—this week! Grab any tulip, daffodil, crocus, and hyacinth bulbs you can find and bury them in potting soil. If that’s enough to satisfy you, great! OR… Top dress those pots with winter greenery, pansies, decorative moss, obelisks—anything that creates interest and lifts your spirits. Just about the time you’re weary of those toppings, your spring flowers will burst through and inspire you once again. I have three pots underplanted right now, and I’m jonesing for a fourth. And, who knows? Maybe I’ll get inspired by all this planting to actually dig some clay holes. Probably not…but a gardener can dream. 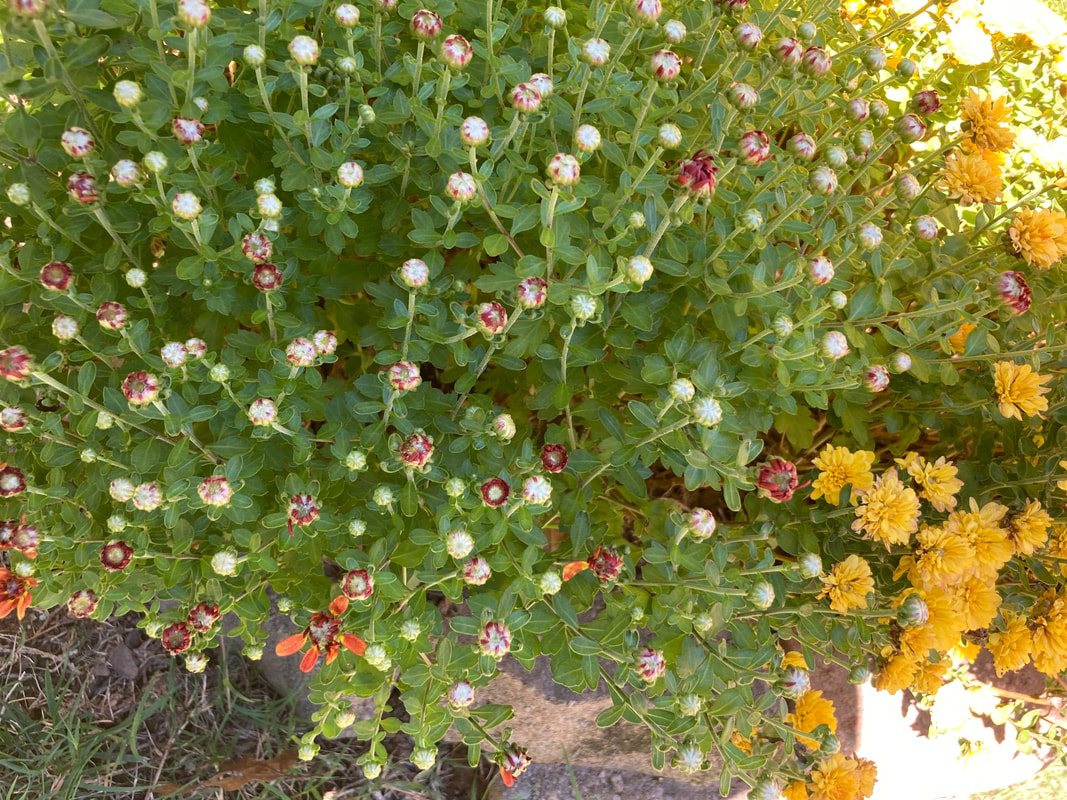 I don’t know how many fall chrysanthemums—45? 60?—I'd dutifully tossed when they’d bloomed out each October before someone suggested I transplant them into the landscape. Uh…what??
Yes—hardy mums are…wait for it…hardy! As in, you can move them into the ground in September, October, November each year and they will happily return each spring double or triple their original size. I kid you not. I tested this theory a few years ago by transplanting two bright yellow mums between two deep yellow lantanas that surprised me when they returned in spring. And sure enough—it was a wash of shockingly yellow blooms that fall, greeting me each time I pulled into the driveway. I distinctly remember thinking Southerners were ridiculous for planting fall pansies my first year in the mid-South. I may have even snorted. I mean, flowers don’t survive the winter! Hello! Uh…they actually do. So now I’m a mum-planting, pansy-planting maniac. I mean, who can turn away from a purple pansy fighting its way through ice and snow in the short, grey days of February? Not I! And who could possibly be discouraged by seeing new growth at the base of that brittle, dead-looking mum in April? Only the Scroogiest Scrooge. This year, I’m enjoying perennial blooms in yellow, orange, maroon, purple, and white. They even bloom at different times—like I planned that! But I didn’t. But I let people assume so. Even though I didn’t. Que será, right? Those $5-$10 mums have more than earned their keep in my gardens. And they will in your gardens, too. So when the last blooms have shriveled up into brown or black nubs, give your potted mums a long and fruitful life in a sunny part of your landscape. Then fill those empty pots with a $10 flat of pansies. You won’t regret it. I promise you. 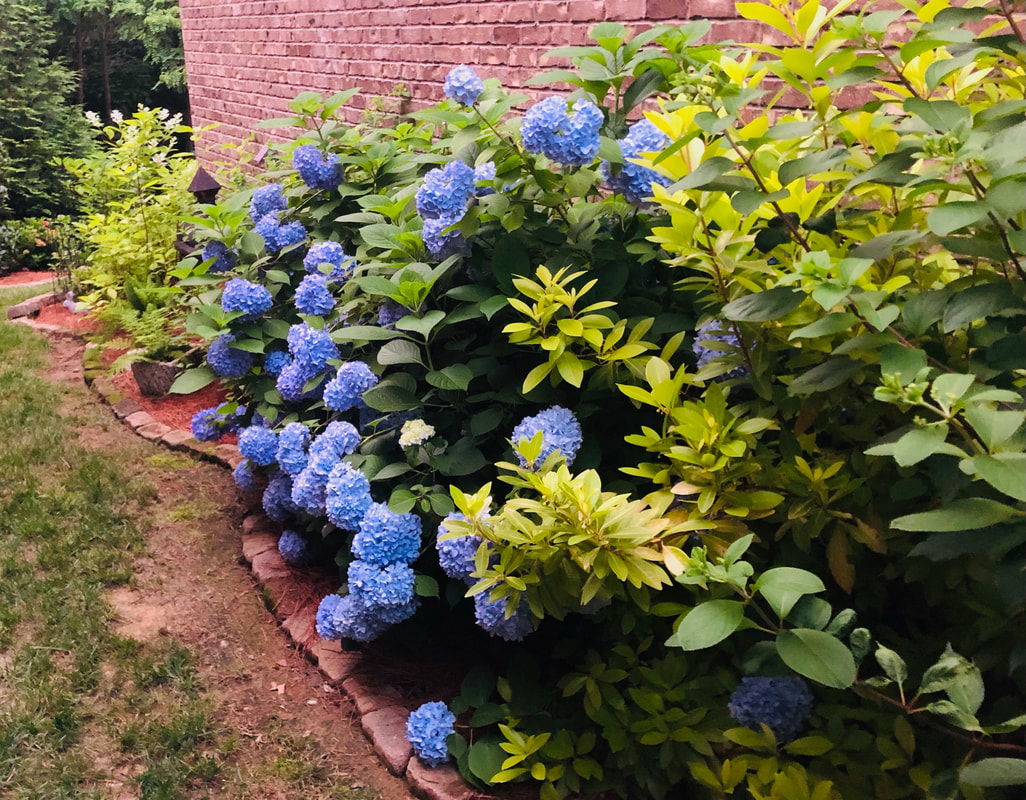 I started seriously gardening when my friend Fran volunteered to dig up my mom’s peony bulbs at my townhouse to transplant to my new house.
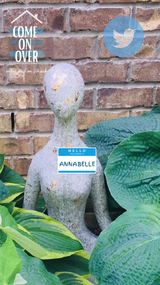
I was so tired from the seemingly endless packing and moving process, I couldn’t stomach the thought of digging bulbs. So Fran took charge. She grabbed the shovel and dug up the peonies, the hostas (also from Mom’s collection), and the azalea. She put them in pots or bags or anything that would hold dirt, and then she helped me transplant them in the new beds. And then the serious gardening began. The back and sides of the new house were blank canvases. “What should I plant?” I asked Fran. “What do you like?” Fran countered. I liked hydrangeas. So we installed two Annabelle hydrangeas in a petite, two-foot-wide, mostly shady bed along the back of the house. They looked lonely there, so we added the hostas and azalea. It was lovely. That was Year #1. When the spring of Year #2 approached, I was ready to attack the sloping back yard. I wanted to create a visual break between our neighbors’ yards and ours, so I ordered six Green Giant arborvitae from a local VFW sale. I didn’t know anything about planting trees, so I hired a guy. I watched him set out a trio of the trees on each side, dig the holes, amend the soil, fertilize and backfill, and thought, I can do that. Then I started clearing out the edge of the woods. I wanted that “park” look, instead of the scrub of privet and wild vine and ragweed. It was sweaty, brutal work, but I hacked away until I had a two-foot border. “You know what would look great there?” asked Fran. “Forsythia.” So I bought three and we got them in the ground. And I learned a lot about native planting. And then we really went wild. We added a ninebark and two burning bushes. Fran shared some ajuga, sundrops, and grasses from her gardens. Another friend shared native ferns and anemones and various perennials that quickly fill in. And I learned serious gardeners love to share plants they know do well in Tennessee’s clay soil. Jimmy now winces a little when he sees Fran pull into the driveway with a load of plants. “I guess I’ll get the shovel,” he mumbles. Under our direction, he digs holes, unearths rocks, saws off limbs, and trims back hollies gone rogue. It’s not his favorite thing, but he beams a little when guests gasp over the lush and bountiful blooms. He’s learned that beauty matters. In just five years, I’ve developed nine different garden beds. They take a LOT of work—weeding, watering, trimming, fertilizing, googling, treating for slugs and beetles and mildew and black spots. I’m constantly learning, constantly expanding. I’m not afraid to move things. I’m not afraid to fail. And it all started with a friend and a shovel. Thanks, Fran. We now live in a garden oasis because of you. As you like to say, “There’s always room for more.” 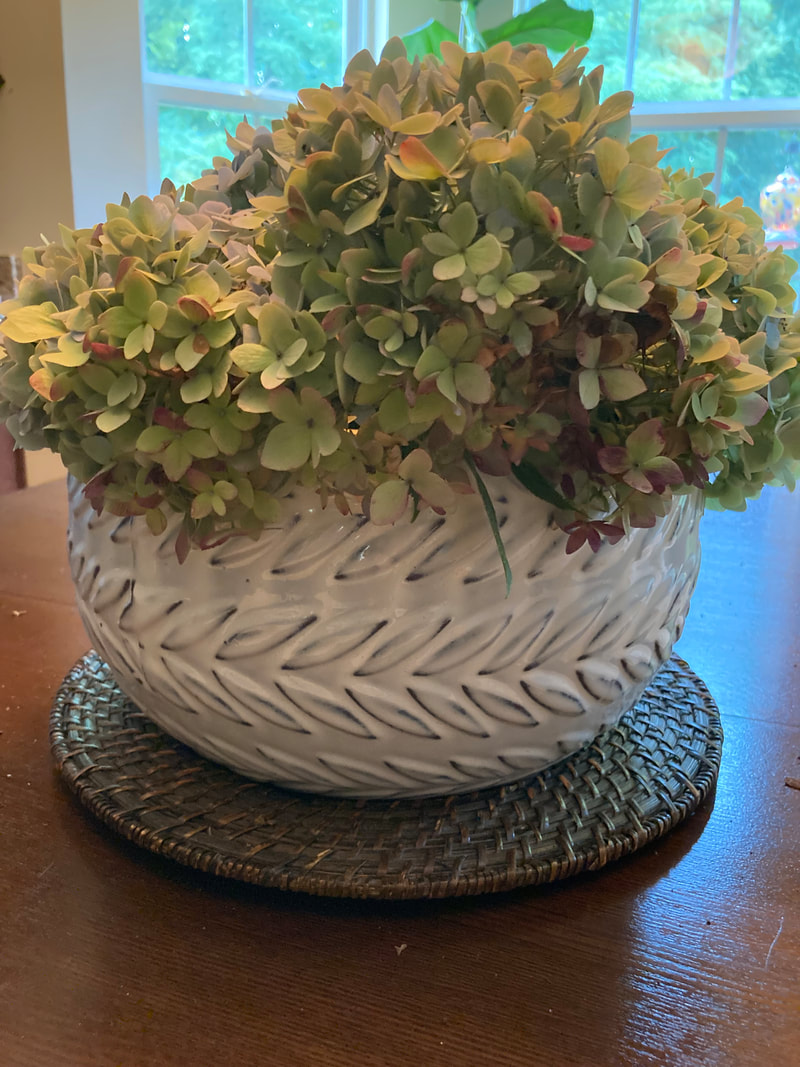 My husband Jimmy and I have an ongoing battle over the dining table centerpiece. Meaning: I want one, he doesn’t. I adore a dramatic bowl or vase or jar of eclectic, conversational items. He doesn’t. I like to layer a base, then a vessel, then an assortment of interesting flowers or items. He—wait for it—doesn’t. If it were up to him, the dining table would be starkly, sadly naked. Now, he has a point sometimes. If the table is loaded with dishes and food, and all sides are packed with laughing people, a three-foot vase of gladiolus just gets in the way. But if it’s a small gathering—three or four people—a low bowl of hydrangea blooms or pinecones adds a sophisticated touch. If you struggle with dreaming up a table centerpiece, you are not alone. They were commonplace with our parents and grandparents (I give you: the cornucopia), and still take center stage during business luncheons and fancy parties. But a centerpiece doesn’t have to be expensive or complicated or even floral. It just needs to be interesting. If you have a cutting board, you have a base. If you have an artsy bowl, you have a vessel. If you have a collection of anything—marbles, dried flowers, copper utensils, artificial fruit or vegetables—you have a filler. You can skip the vessel entirely and put a houseplant on the cutting board. Voila! Centerpiece. Let’s give it a try: Choose a board, put it on the table, then look around your house. Bring some odds and ends over. Try different combinations. Grab a glass bowl, fill it with water, then float some candles or mature blooms from your own gardens in the center. Lovely! And you know what? You don’t have to throw a dinner party to showcase your table creations. They can be just for you and your family. Before long, every decorative item in your home will have centerpiece potential. And then my work will be done. 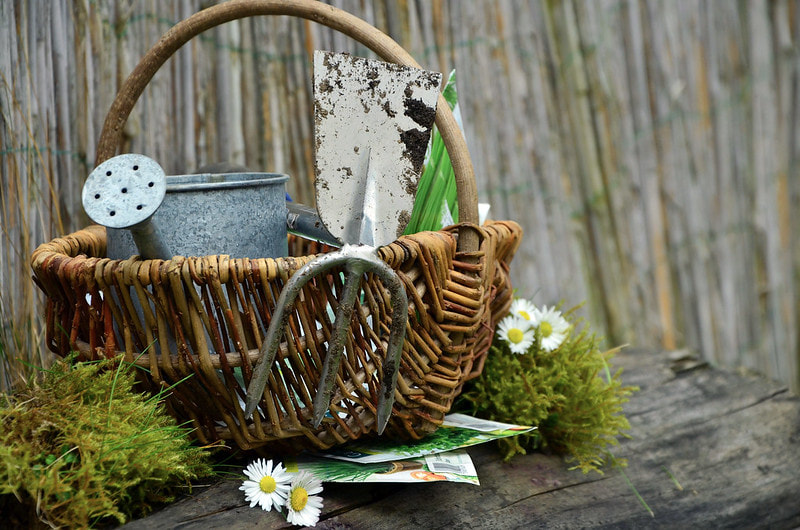 I’m renowned in my social circles for having a vast—some might say, ridiculous—collection of cooking utensils. If you need it, I probably have it. So, you’ll want to borrow my bamboo toast tongs any day now, right? If the tongs aren’t your thing, you could open some of my kitchen drawers and fish out a mango slicer, boiled egg slicer or butter slicer…since I apparently have an overwhelming desire to slice things. But I also have a garlic press, egg separator and lemon/lime squeezer amongst my spatulas, wooden spoons, and whisks. If a recipe calls for it, I’m clearly more than ready. And, honestly, that puts me halfway to getting the job done, doesn’t it? Same with gardening. I probably don’t really need three shovels, four rakes, two kneeling pads, five shears, and three spades. And my clay pot collection is a little, shall we say, excessive. The shocker is: I actually use all of them! #Truth You can often find me prowling around my gardens with my green utility cart, stopping at a problem bed, selecting the right tool, attacking the weed or spent bloom or dead branch with practiced ease. I like to think these problems see me coming and shudder with dread. Yeah, I’m talkin’ to you, wild onion. When you take on any home task, having the right tools on hand can be essential to even getting started. If it’s the perfect tool, and you’ve been just dying to use it—like the melon baller I picked up recently—you’ll be on the lookout for any excuse to try it out. Then watch the how-to video. Then try it again. (Sorry, pockmarked cantaloupe…I’m savvier now.) So, open those drawers. Paw through those garage shelves. See anything interesting? Anything inspiring? Pick it up and tackle that job today. Now, excuse me as I go grate a tomato. I have a tool for that. 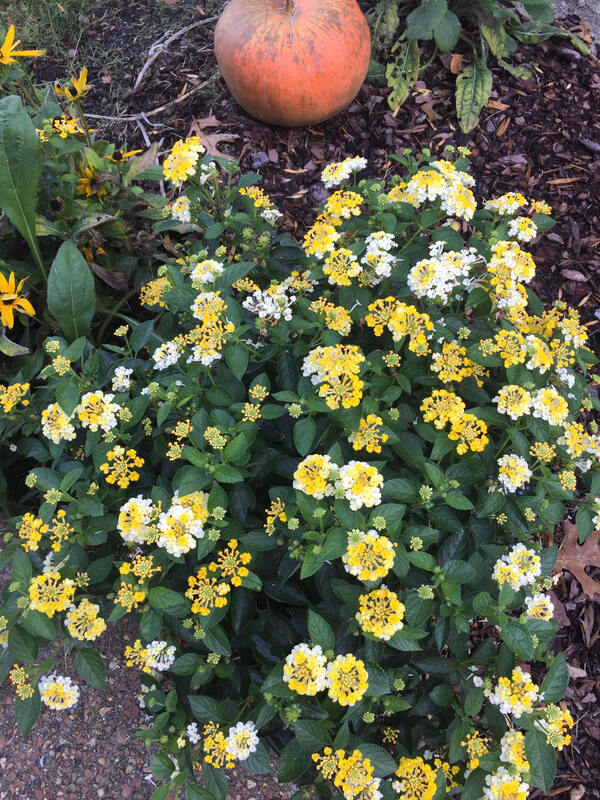 I’d made the daily trek out to get the mail for three years until it finally hit me: My mailbox area wasn’t pretty. I do a lot of neighborhood drive-throughs. I’d been admiring lovely, happy mailboxes in a slew of ‘hoods that caught my eye, made me smile, and changed with the seasons. Couldn’t I put together something similar? Why, yes! Yes I could! So I did. The goal in each of my flower beds is to create year-round interest. I mean, it should be fun to wander the yard all 365 days, am I right? The tricky part is knowing what will survive in vastly different sun/shade beds. And my mailbox gets the brutal, blistering, southern summer, late-morning-to-afternoon rays that can crisp a leaf in hours. I’d need to do some floral homework. I started by digging up the grass—back-breaking work. What I discovered was very poor soil and chunks of cement. I had a brief moment of discouragement, then said out loud, “Challenge accepted!” Spring-blooming bulbs were probably out. I needed something shallow-rooted that could thrive in full sun. Enter the Black-eyed Susan. Only gnawing critters can kill these plants, so I got some starts from a generous gardener and in they went. Summer beauty: check! Then I considered the yellow-and-white lantana. This is a hardy, woody bloomer and—bonus!—sometimes they’ll volunteer back for you. Perennial: check! Since it was late-summer, I needed to consider something fall-blooming. Anything in a nursery can would have roots too deep for this spot, so I planted a mum in a pot to give the area some height, and added some pumpkins around it in October. Seasonal interest: check! The next Spring, I added Sundrops—another yellow-blooming perennial. Much to my surprise, a pumpkin vine grew from a seed that must’ve made its way into the Fall soil. This summer, I threw in some yellow Four O’Clock and red zinnia seeds to join the volunteer lantana and Susans. It’s an ever-changing bed of annuals and perennials that never cease to amaze me. It’s rather fun to see what works and what doesn’t, what thrives in poor soil and what says, “no thank you.” And every time I run out to get the mail now, it takes a wee bit longer as I pause, reach down, touch a bloom, pinch off a leaf, and admire nature’s handiwork. Mission accomplished. 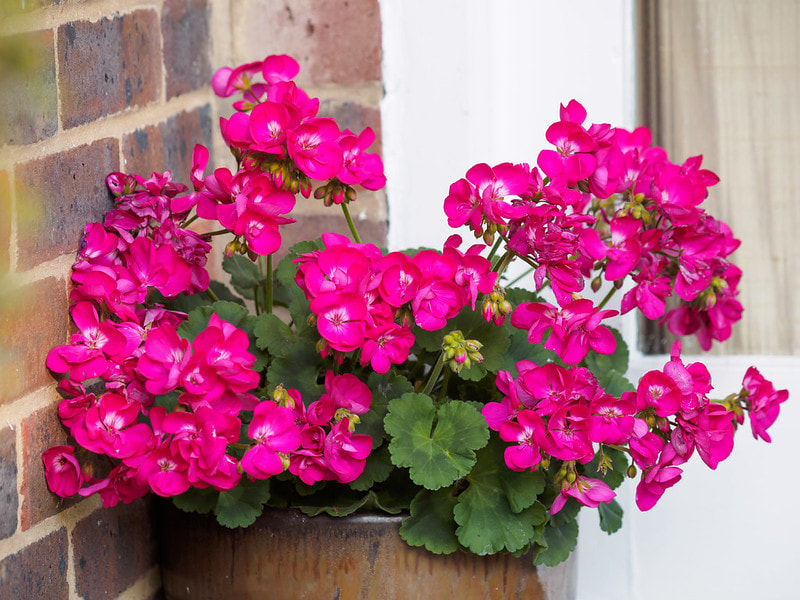 A few months ago, I finally got up the nerve to say to a client what I’d been dying to say for more than a year: “Do I need to do a drive-by planting?” Every week, I’d show up at the front door, see those poor, unloved pots framing the entrance with their dry soil and dead plants, and I’d cringe. Several times I’d stopped myself from just pulling out the dead whatever-it-was and flinging it behind the shrubbery. Even that change would’ve been an improvement. Much to my surprise and delight, my client said with excitement, “Do you do that?? That would be fantastic!” Before long, we were talking colors and seasons and plant combinations. We discussed possible changes to the whole front porch that would make it beautiful and usable. We unearthed a petite watering can, two old-but-usable obelisks, and some window boxes. One week later, I filled those pots with pre-sprouted tulips, hyacinths and primrose. The obelisks created height and the colors popped. A new outdoor rug and pillows completed the scene. And just like that, the front entrance was happy and inviting. It was a small task for me, but a HUGE win for her. I had no idea she’d been embarrassed about the condition of her front porch and door for more than a year. She knew that entrance was a terrible first impression, so guest invitations were few and far between. Now she felt far more confident and excited. She took photos for her mom and sister. She talked about having a friend over for porch coffee. And I thought, My work here is done. If your entrance is looking a little tired or sad, I encourage you to get out there and change just one thing. Sweep and dust it off, then add a pot of flowers. If that brings a smile, add an outdoor table or chair. If you have an outlet nearby, add a table lamp and leave it on. It will glow at dusk and whisper to evening strollers, Friendly people live here. Before long, you might find yourself sitting on that porch, waving to neighbors, counting fireflies. Happy. Inviting. Then our work will be done. |
Christine SchaubA Michigan farm girl transplanted to the South offering hospitality hacks. Categories
All
Archives
April 2024
Categories
All
|
 RSS Feed